What Can Go Wrong
Crosby sits 13 miles out from our Humble shop, which changes how a job here gets scheduled more than it changes the work itself - we plan the drive into the visit so the truck shows up with the right opener already on it, not a guess we have to swap out. That matters because a wasted trip on a 13-mile haul costs real time on both ends.
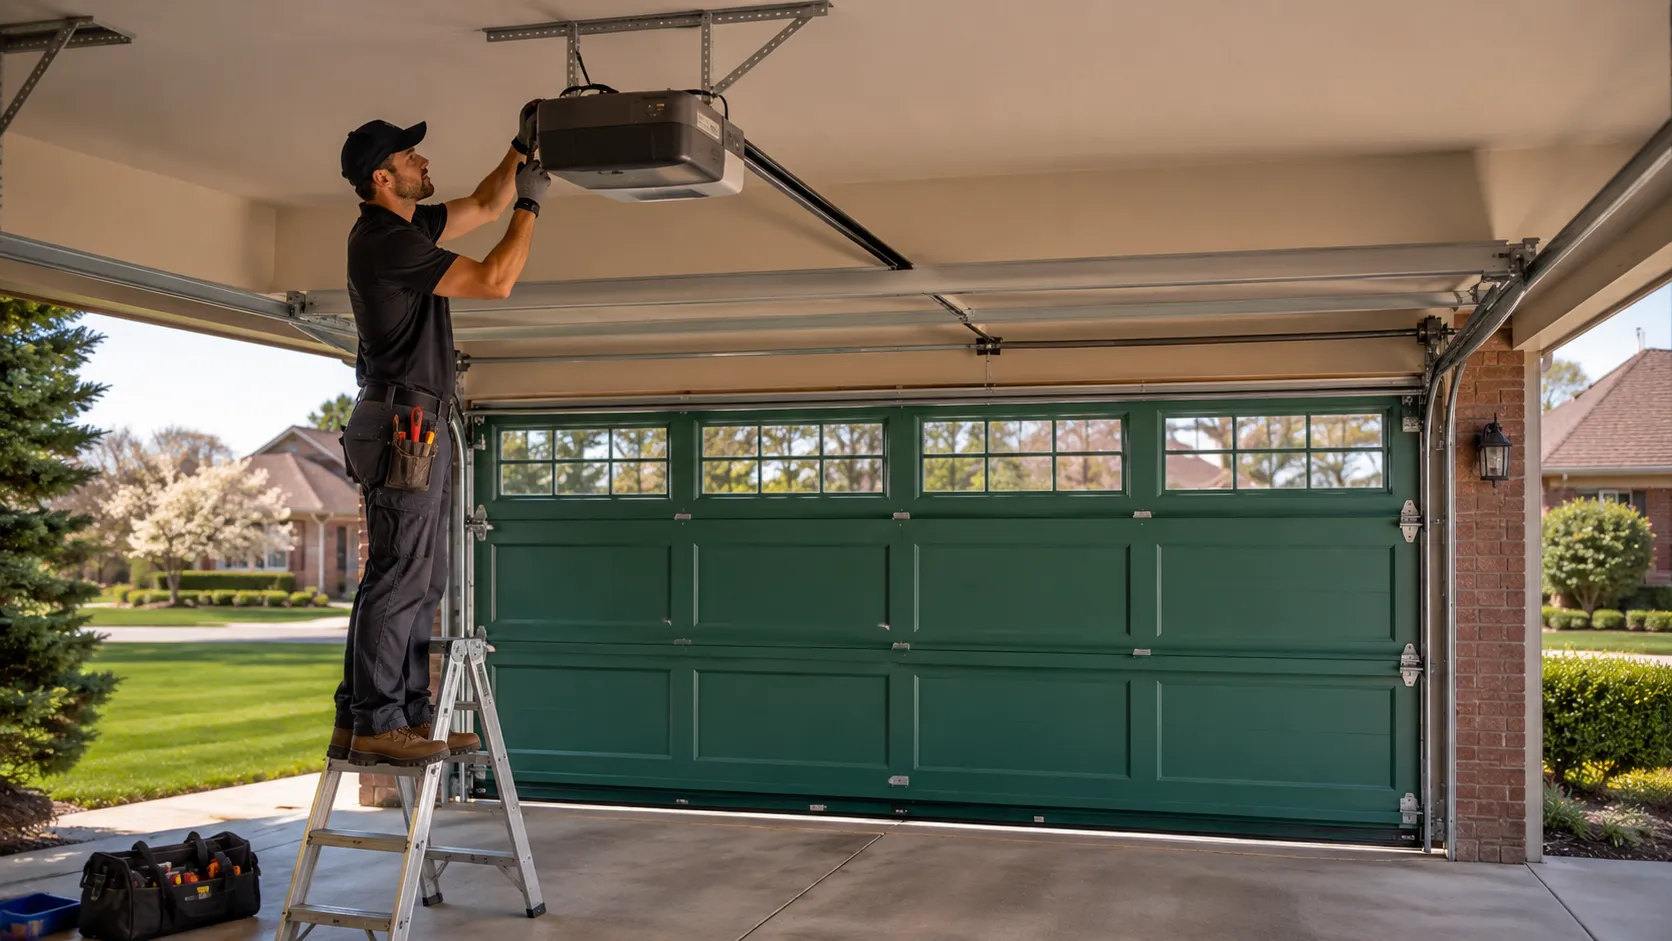
Most houses in this part of the service area went up around 1985, which puts a lot of Crosby garages on older chain-drive openers, some still running the original motor from when the house was built. Those units weren't built with rolling-code security or battery backup, and the gear sets inside are long past the point where a replacement gear kit makes more sense than a new opener. If yours grinds, slips, or runs but won't reverse on contact, that's usually a worn gear or a failing logic board, not something worth chasing with a can of grease.
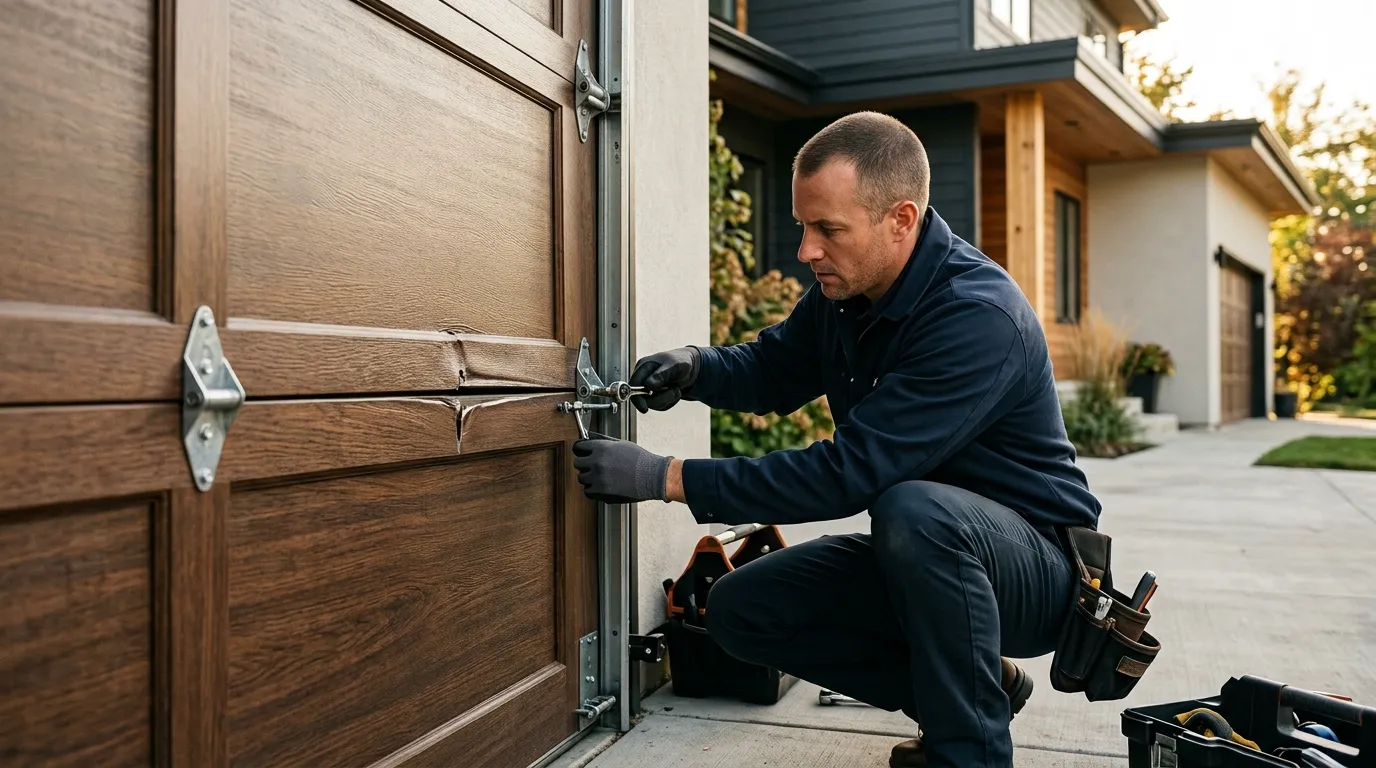
The other common failure on houses this age is a mismatched opener from a prior owner - a 1/3 HP unit bolted to a heavier insulated door installed later. It runs, but it strains, and the motor burns out years early. We check the door weight before we quote a unit so you're not paying to replace the same opener twice.
Booking a Visit
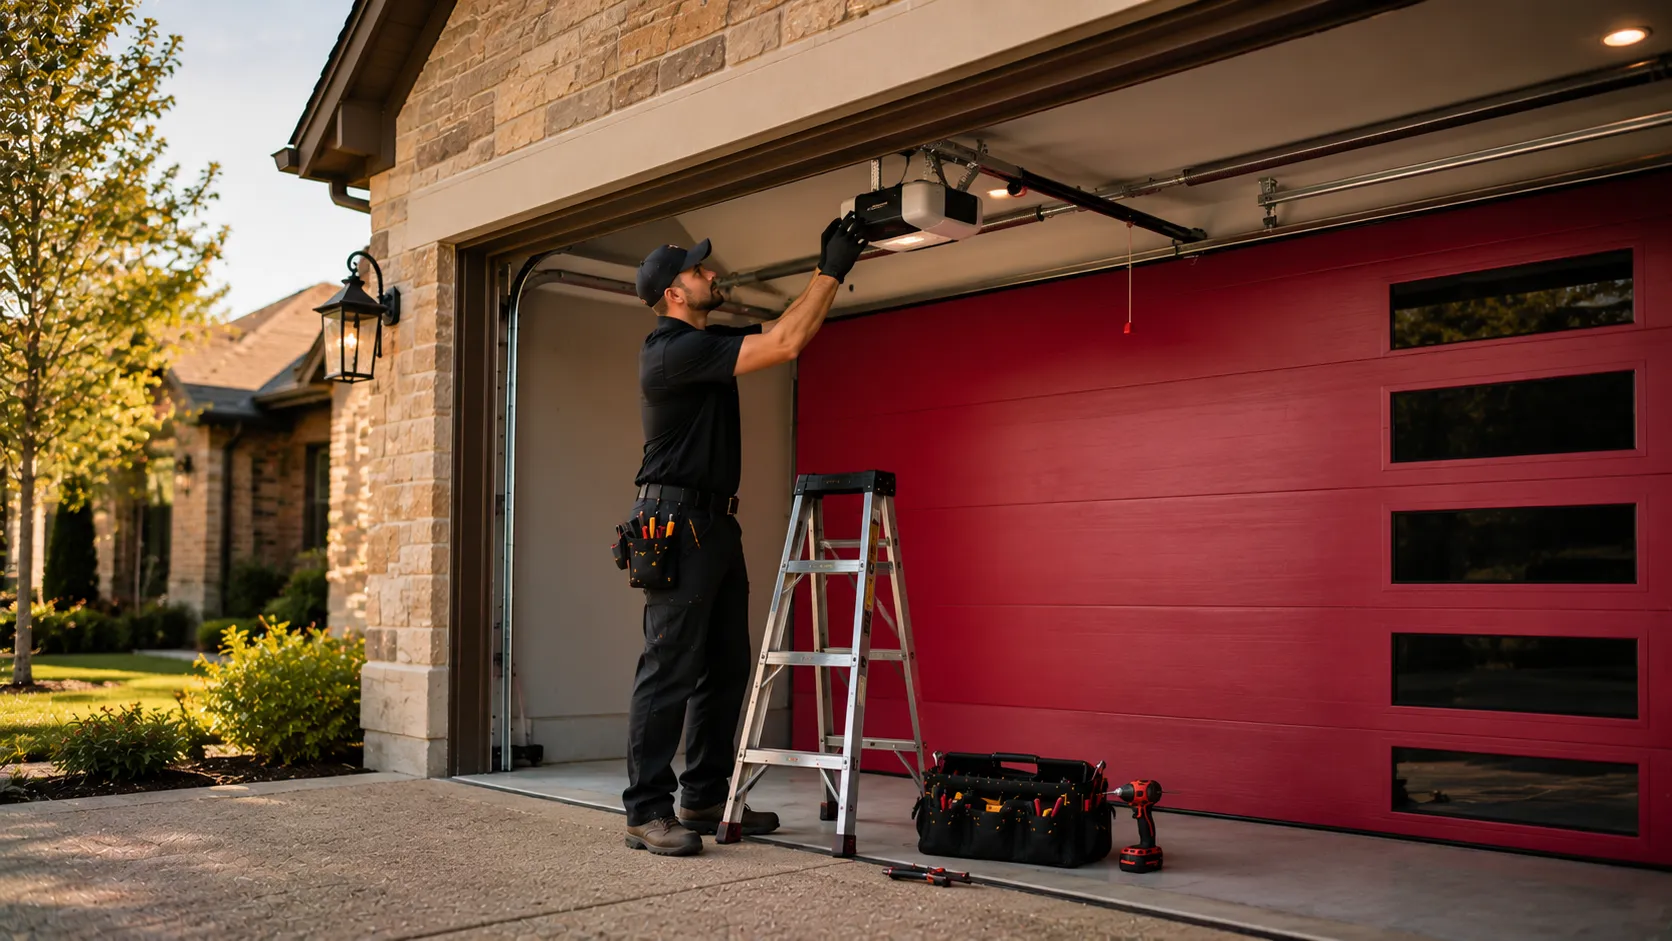
Because we're coming from Humble, we book Crosby opener installs as a scheduled visit rather than a same-day drop-in - we want to bring the right opener and the right mounting hardware on the first trip, not a second one. Tell us the door size and whether you want a belt-drive or chain-drive unit when you call, and we'll confirm what fits your bracket and header clearance before the truck leaves.
We don't keep a stocked branch in Crosby, so anything outside a standard 1/2 HP or 3/4 HP residential opener may need a day or two of lead time. If your garage runs off a jackshaft or wall-mount setup instead of a standard ceiling rail, mention that up front - it's a different install and a different part order.
We serve this stretch of the county from Humble, and the 13-mile run is worth planning around rather than around, so a confirmed appointment window works better here than an on-the-fly stop.
Doing It Yourself
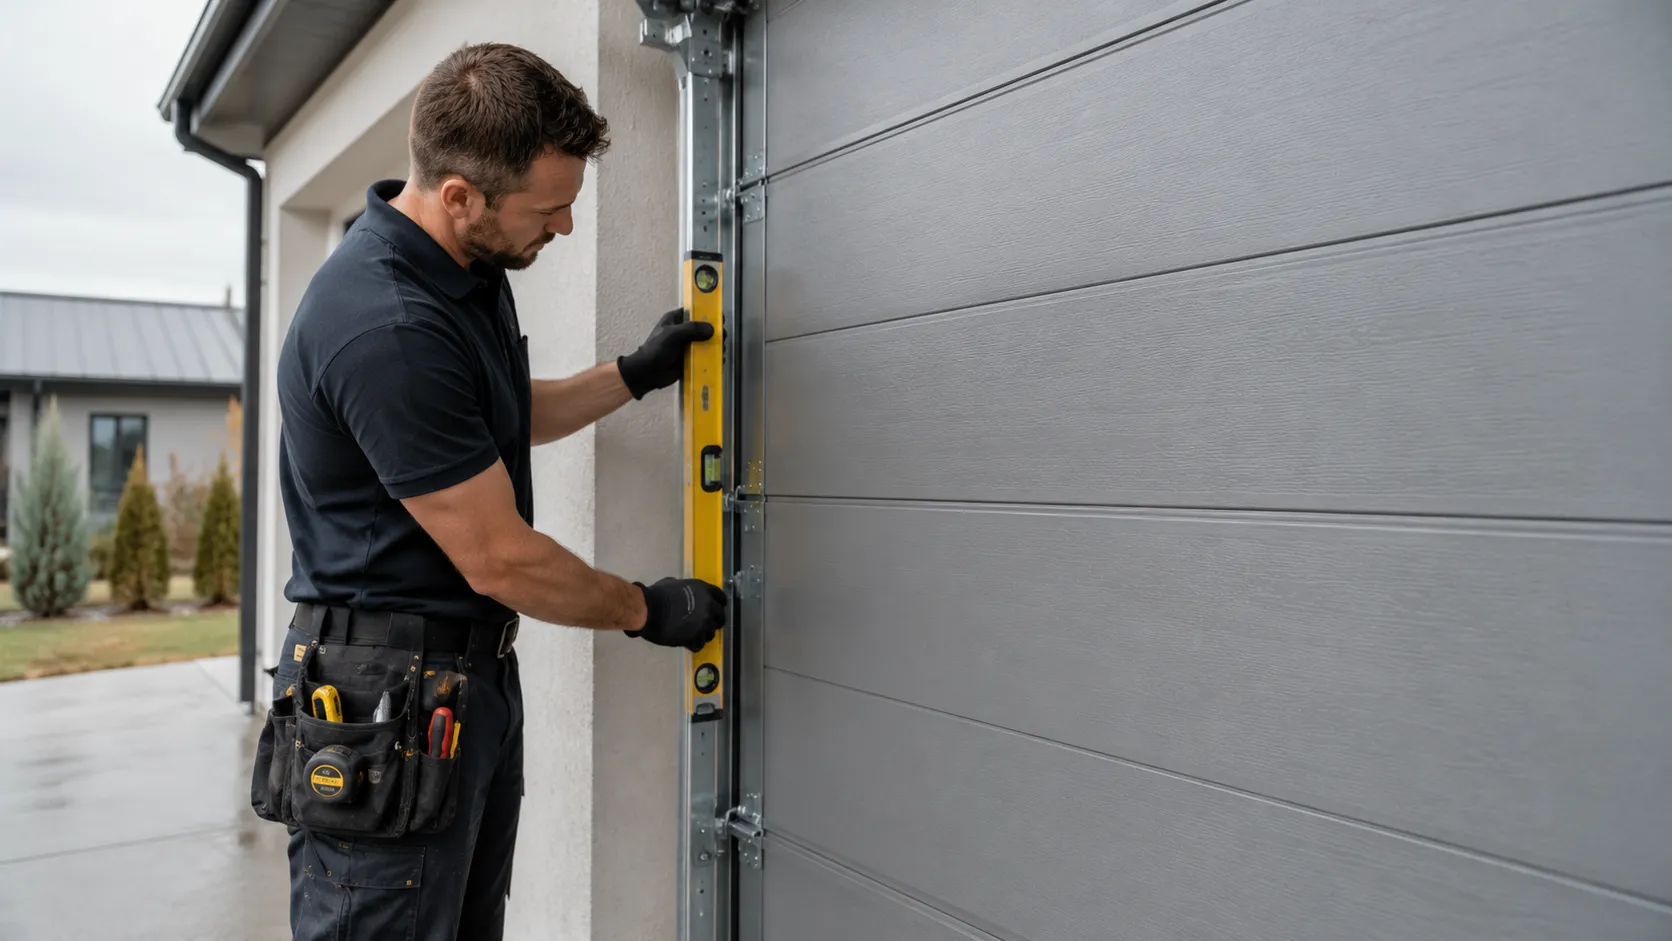
A basic opener swap on a standard rail is within reach for a homeowner who's comfortable on a ladder and patient with wiring. Where people get in trouble is the safety sensor alignment and the travel-limit settings - get those wrong and the door either won't close all the way or reverses on nothing, which usually means another trip to undo the first one.
We'll say plainly: if your garage still runs the original opener from 1985, don't assume the new unit bolts to the same bracket. Bracket spacing and header thickness changed over the decades, and a mismatch there is the single most common reason a DIY install stalls halfway through.
If you're just replacing a remote or a keypad battery, that's a fair DIY job and not one we need to see. If the opener is under five years old and simply stopped responding to the remote, check the antenna and the wall unit's own battery before calling anyone - it's often that simple.