Stocked Parts
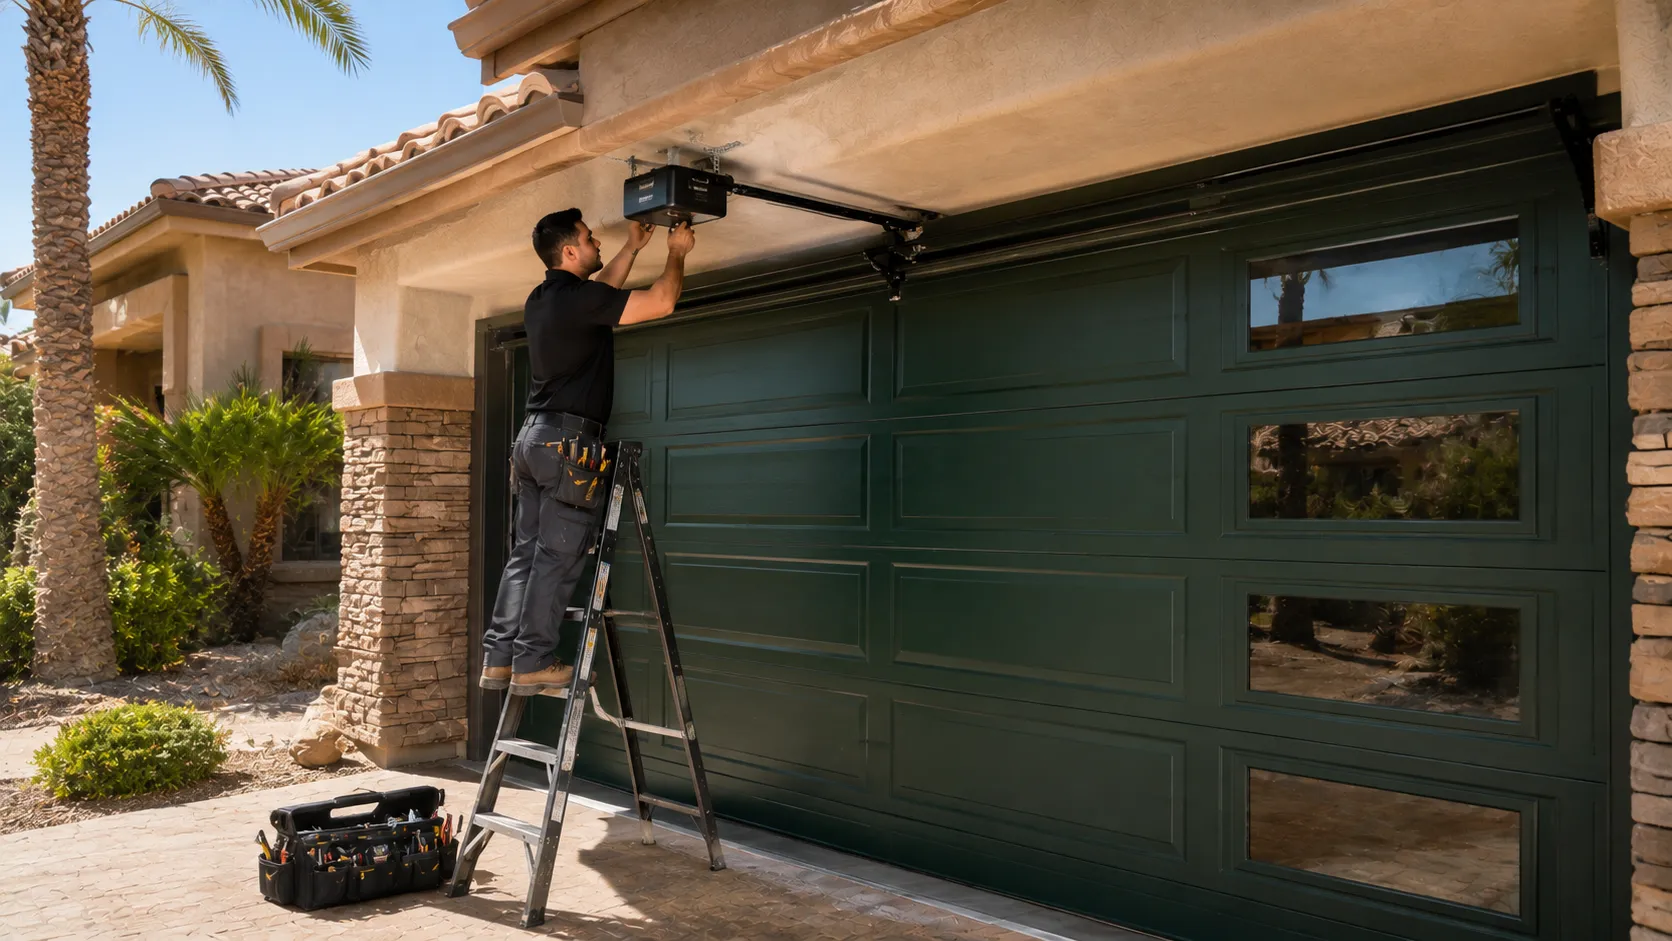
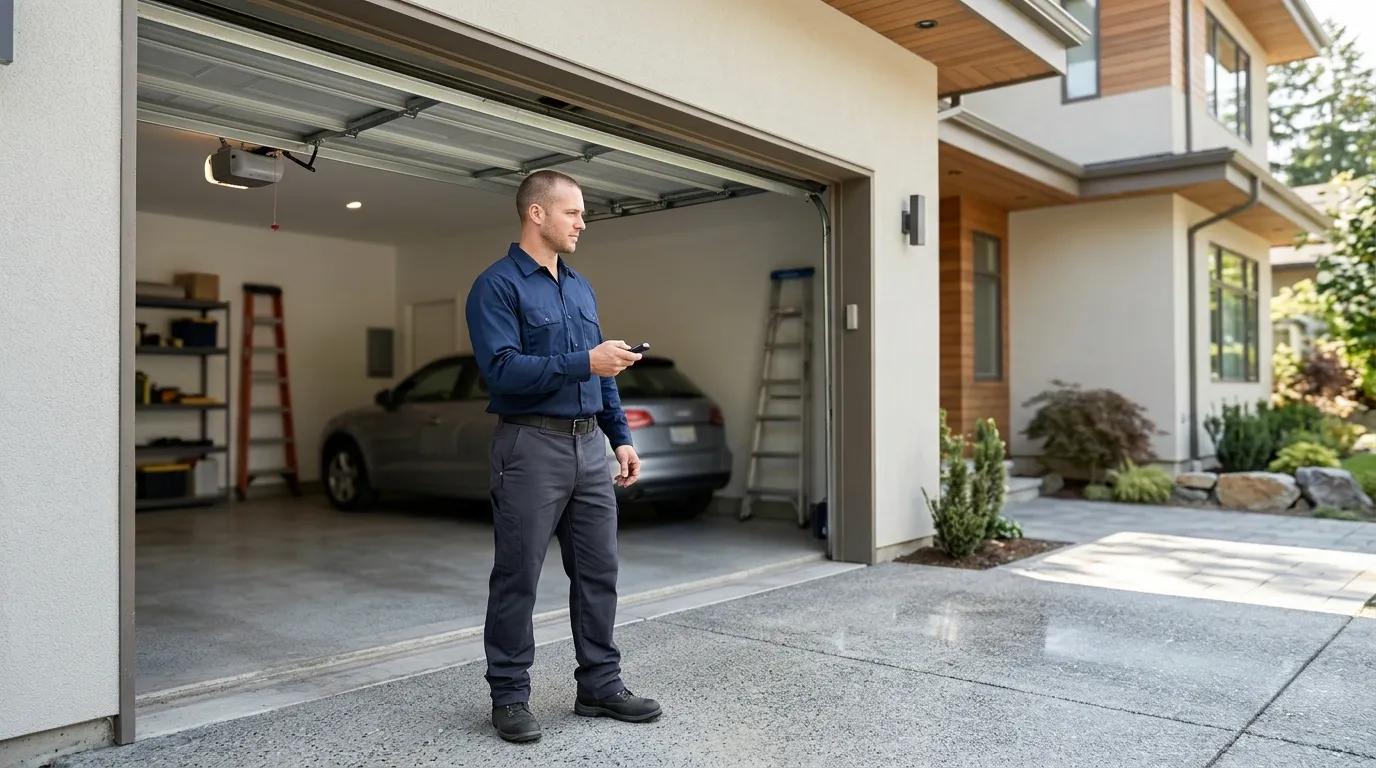
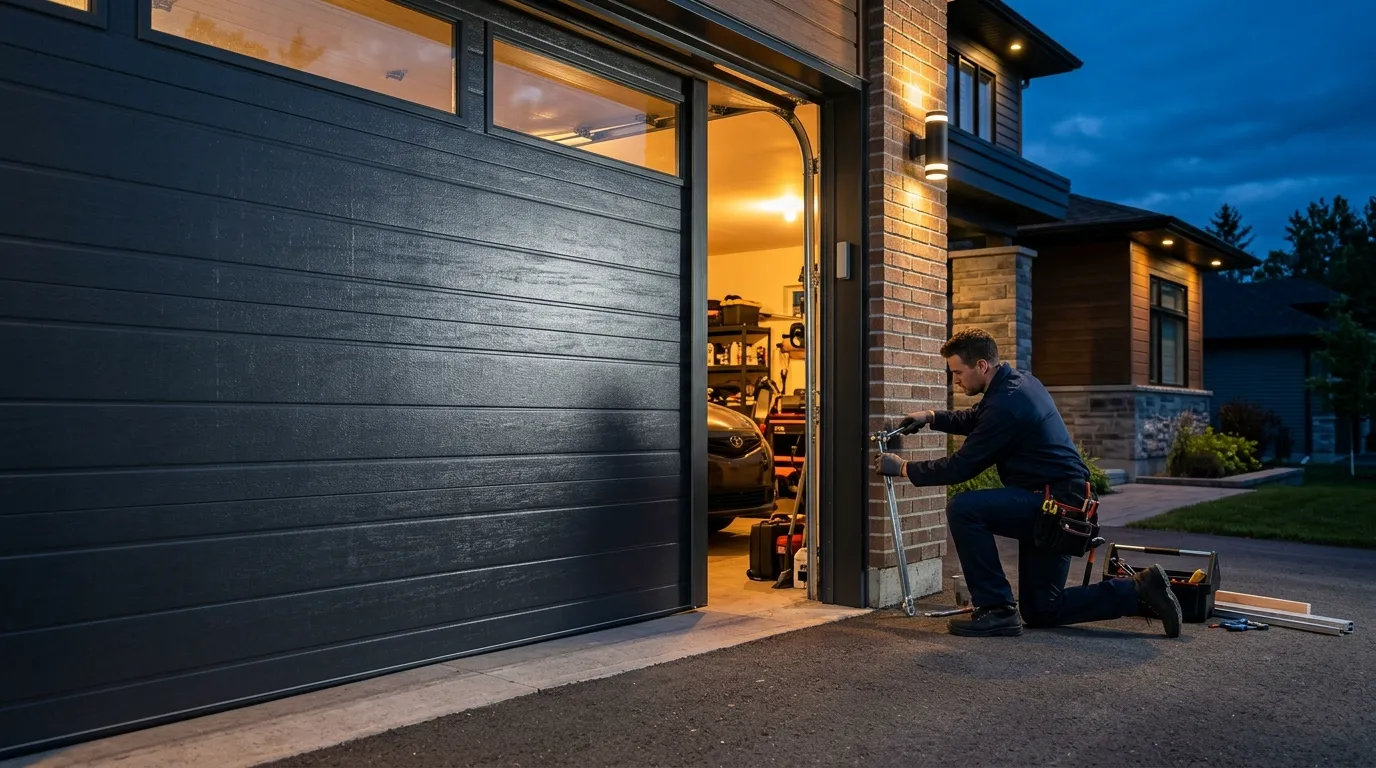
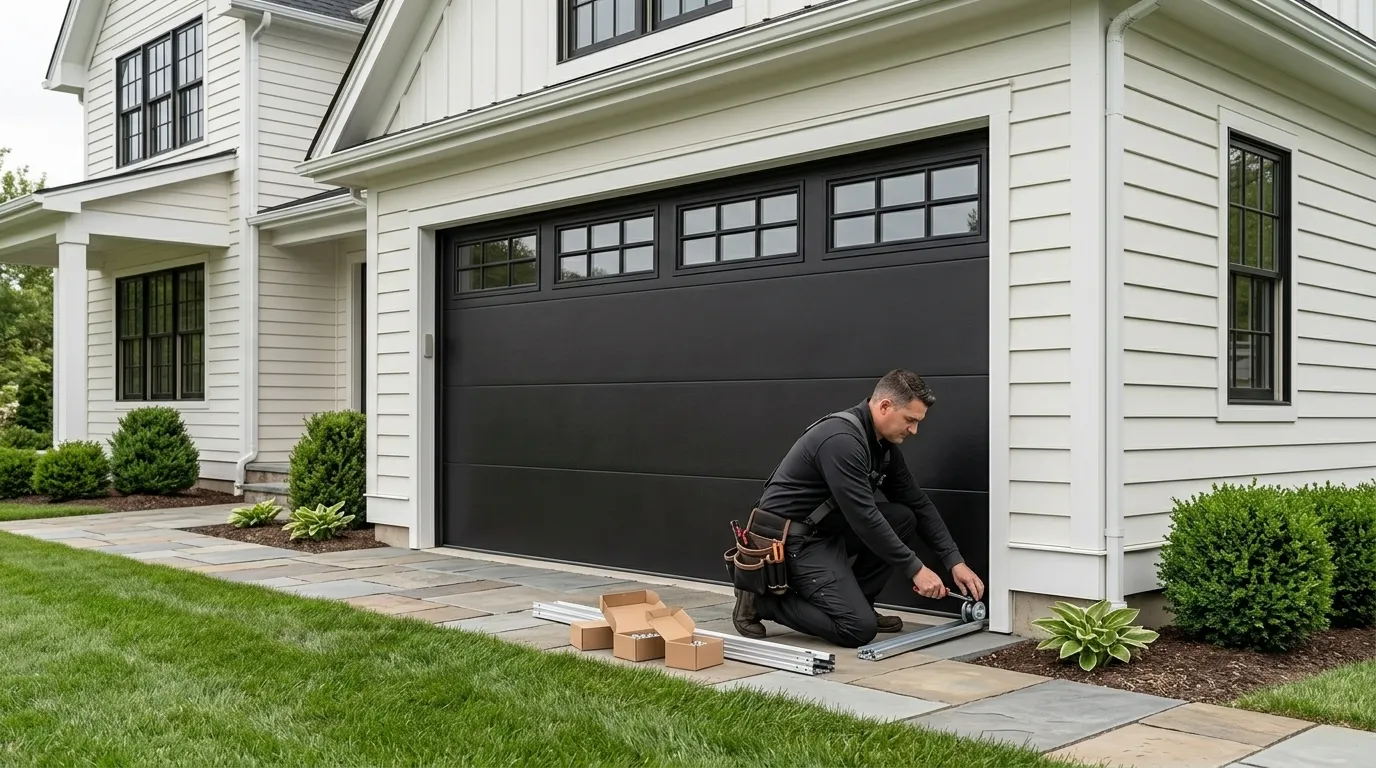
We carry belt-drive and chain-drive openers, wall consoles, and the safety sensor kits that pair with them, but we don't keep a warehouse in Sheldon itself - the truck runs the 12 miles out from Humble with what the job needs already loaded. That matters here because Sheldon's houses mostly date to the late 1970s, ahead of the wider service area's 1981 median build year, which means a fair share of openers still on the wall are chain-drive units from before auto-reverse sensors were standard. Swapping one of those for a modern opener usually means adding the photo-eye sensor bracket and wiring it into the track, not just bolting a new head unit where the old one hung. We stock those sensor kits because on a house this age, the swap almost never goes in clean without one. What we don't carry on the truck is every legacy bracket for every discontinued opener brand from that era - if your mount is a one-off from a defunct manufacturer, we'll tell you that before we start, not after we've charged for the visit.
Doing It Yourself
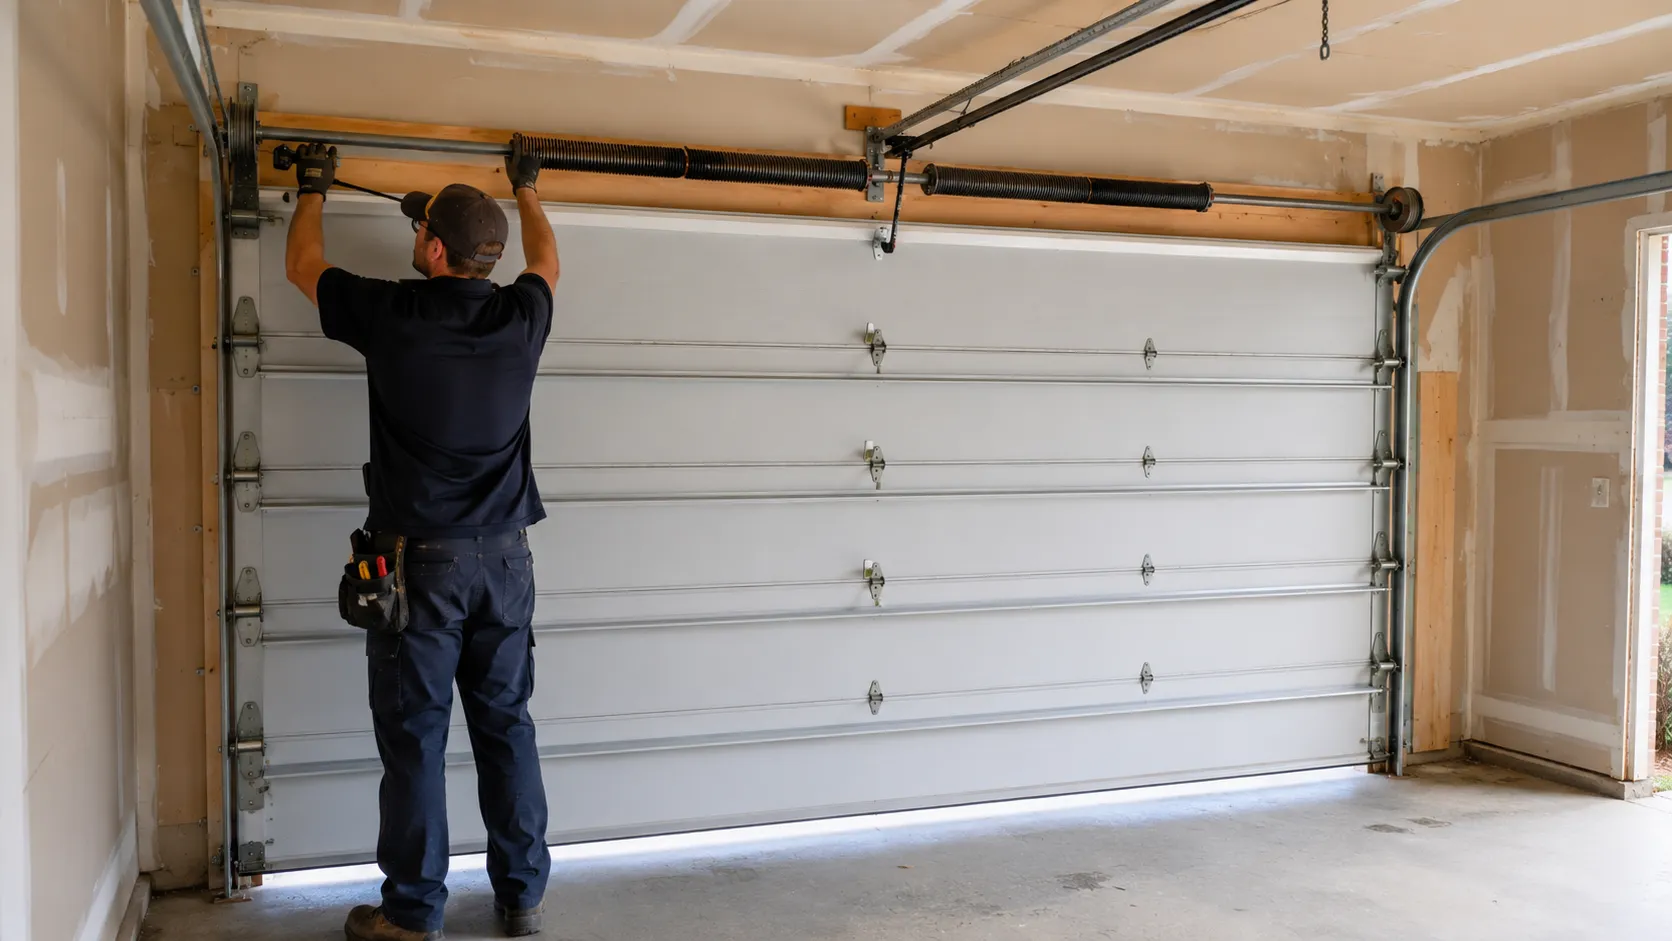
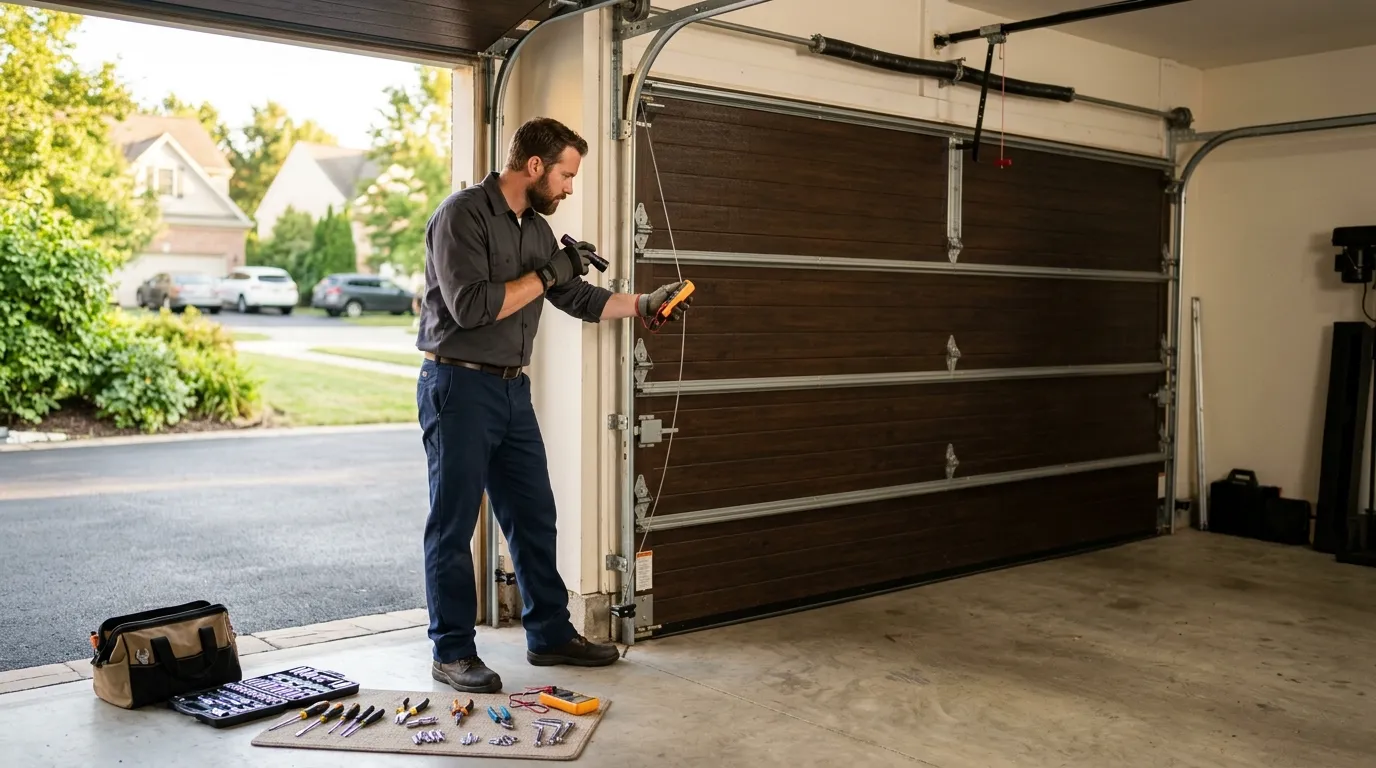
Mounting the head unit and running the rail isn't the hard part of this job - wiring the safety sensors so they actually break the beam at the right height, and setting travel limits so the door doesn't slam the floor or stall six inches short, is where most DIY installs go wrong. On houses built around 1977, which describes a good share of Sheldon, the header above the door often wasn't framed with an opener bracket in mind, so you're drilling and reinforcing before you ever get to the electrical. If your existing opener already has working sensors and a sound rail, replacing just the motor head can be a reasonable weekend job. If you're also dealing with a bent rail, a stripped gear, or wiring that predates the sensor requirement entirely, that's the point where a wrong step means a door that looks installed but isn't safe to leave running unattended.
Time on the Job
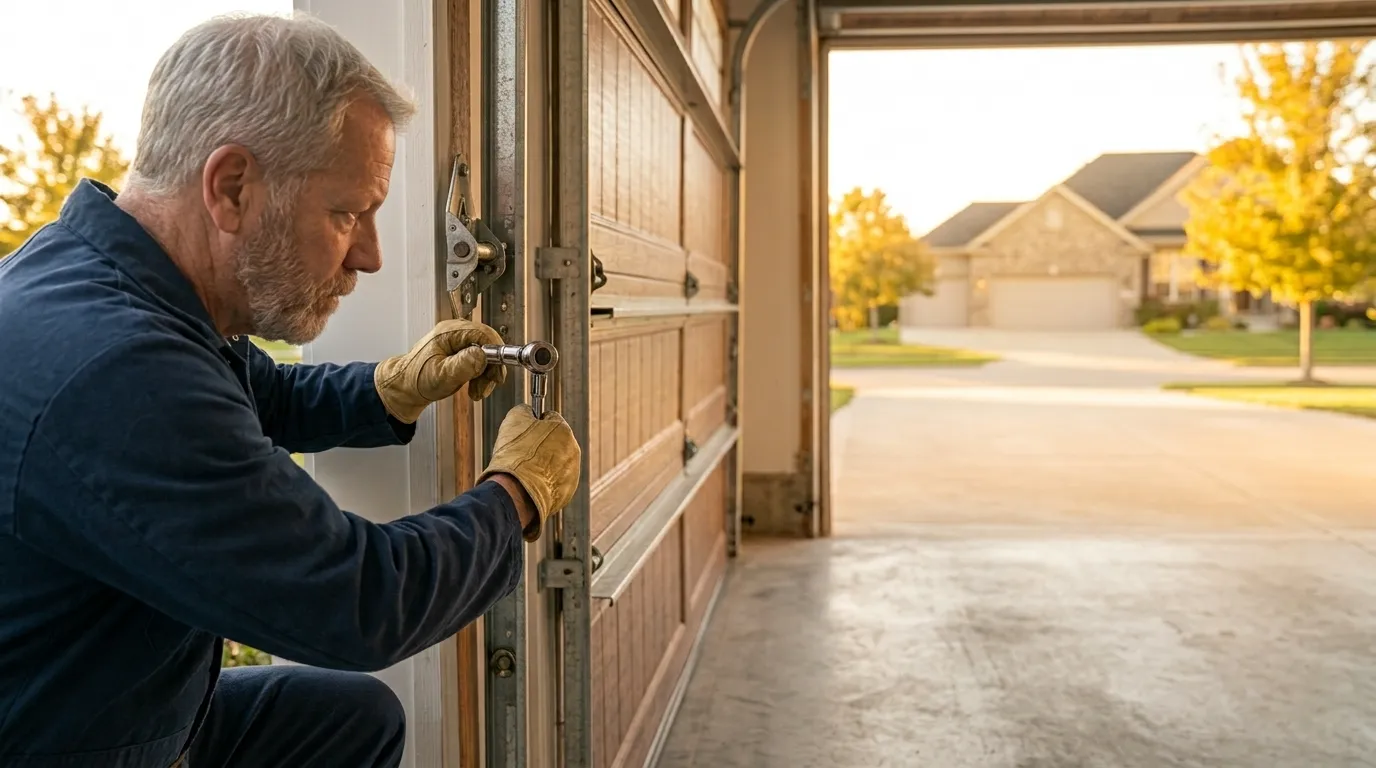
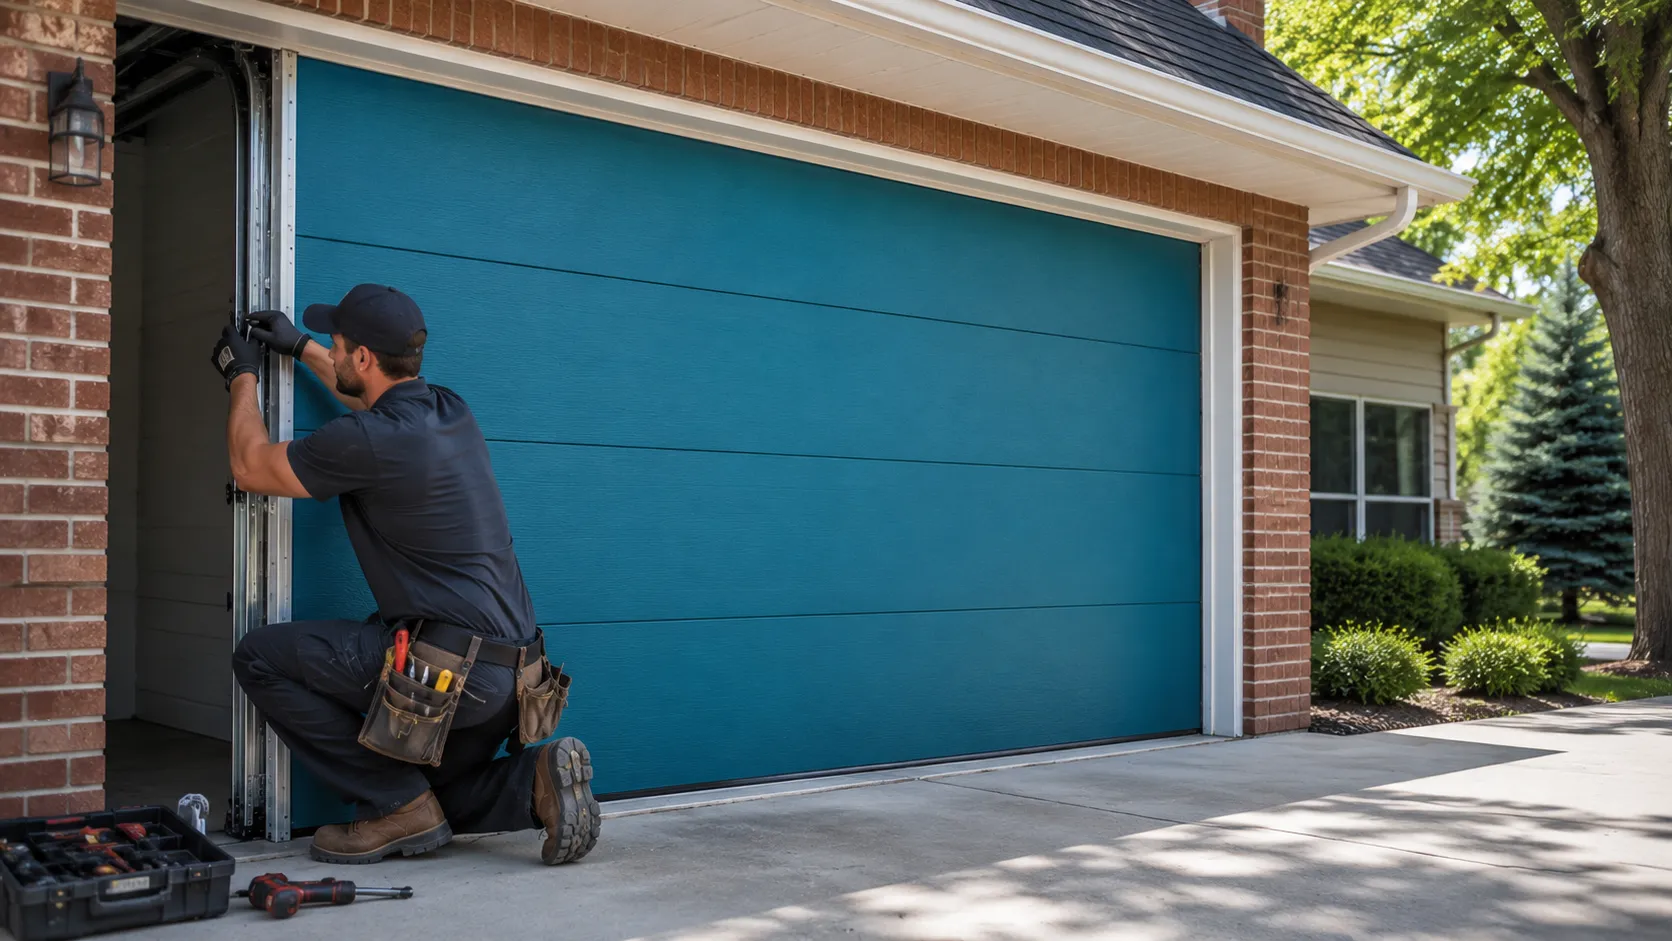
A straightforward head-unit swap onto an existing rail and working sensors runs a few hours, start to finish. Add a header reinforcement, because the framing above the door in a house from Sheldon's 1977-ish era wasn't built with an opener bracket in mind, and you're adding real time before the motor ever goes up. Add a full rail-and-sensor replacement on top of that, which is common when the old opener predates auto-reverse, and the job stretches longer still. We don't promise a same-day slot for Sheldon specifically - the drive out from Humble means the visit gets scheduled, not walked into - but once the truck is on site, the install itself is bounded by how much of the old hardware is coming out versus staying.
What the Repair Takes
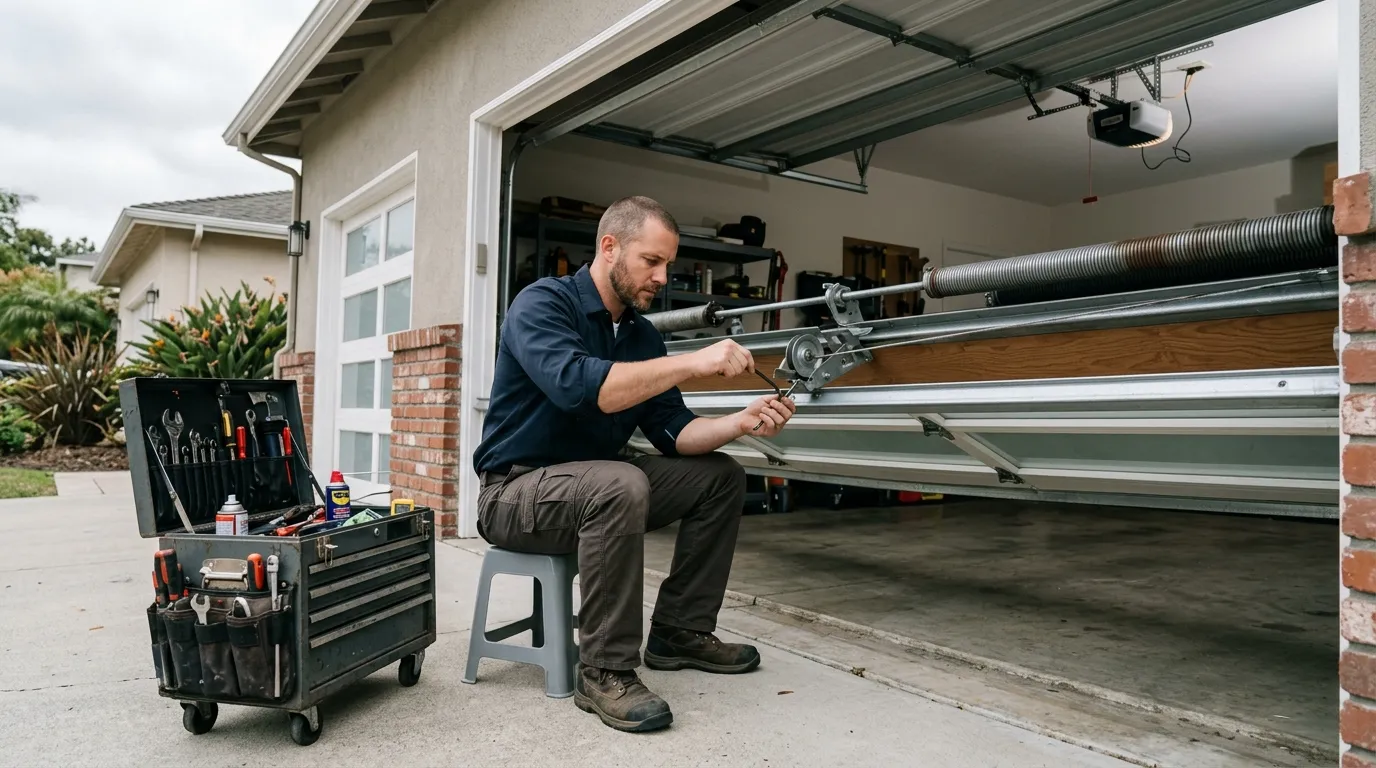
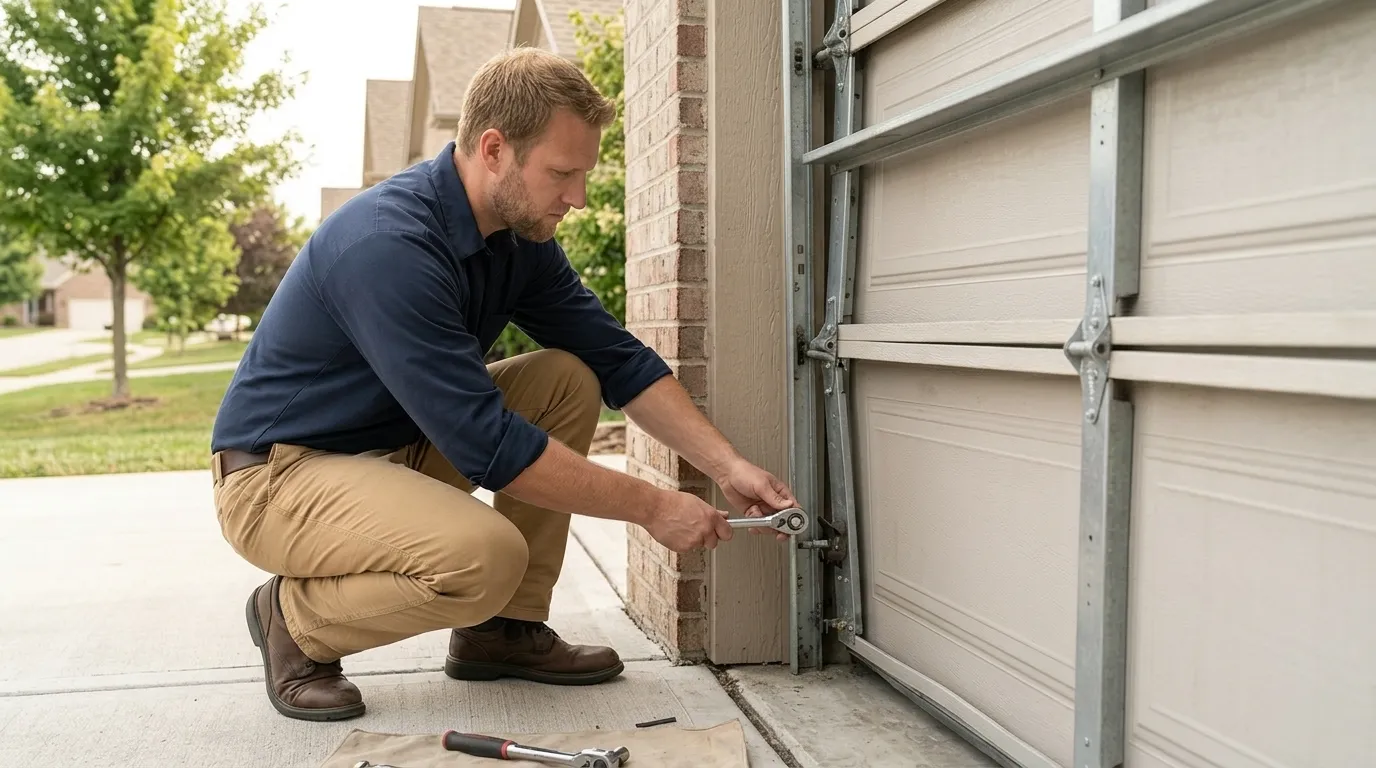
Getting an opener installed right on a Sheldon house means starting with what's already on the wall, not what's in the box. If the header framing is original to a build from around 1977, it may need a reinforcement plate before a new motor's weight goes up - skipping that step is how openers pull loose from drywall within a year. It means running or reusing safety sensor wiring so the beam sits at the height code expects, and setting the travel limits by hand rather than trusting factory defaults, since no two rails sit at quite the same height once a house has settled for four decades. And it means being straight about what's not worth saving: a rail that's rusted through or a gear housing that's already stripped isn't a repair, it's a replacement wearing a repair invoice. See our Sheldon garage door page for the rest of what we cover out here, or the Humble opener installation page for how we handle this same job closer to the shop.